After purchasing a Modular Content license, you’ll be able to download the Plugin from your My Account page.
Once you’ve got the modular-content.zip file, visit the Plugins page inside your WordPress installation, click the “Add New” button at the top, and then on the ensuing page, click the “Upload Plugin” button to upload the Modular Content Plugin.
Be sure to activate the Plugin after uploading/installing, and then you’ll be ready to input your license key.
Set Up Your Modular Content License Key
After activating the Modular Content Plugin, the first thing you’ll want to do is set up your license key.
To get your license key, visit your My Account page and locate the Modular Content Plugin license:
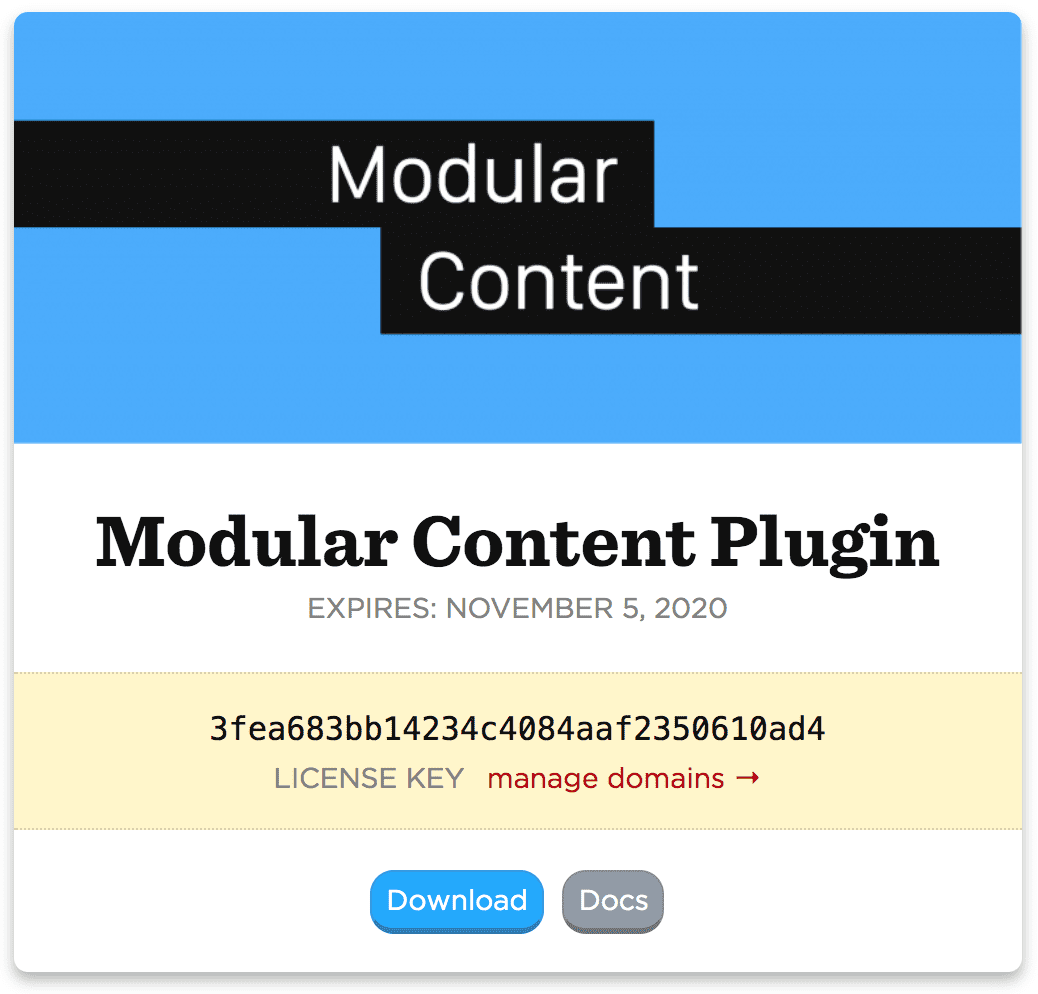
Copy your license key; you’ll need it for the next step.

Once you’ve copied the license key, head into your WordPress Admin and locate the new Modular Content link in your admin menu. Mouse over it, and then click the Settings link in the flyout menu.
On the Settings page, you’ll notice navigation tabs at the top. Click the one that says License Key, and then paste your license key into the available field, as shown below.
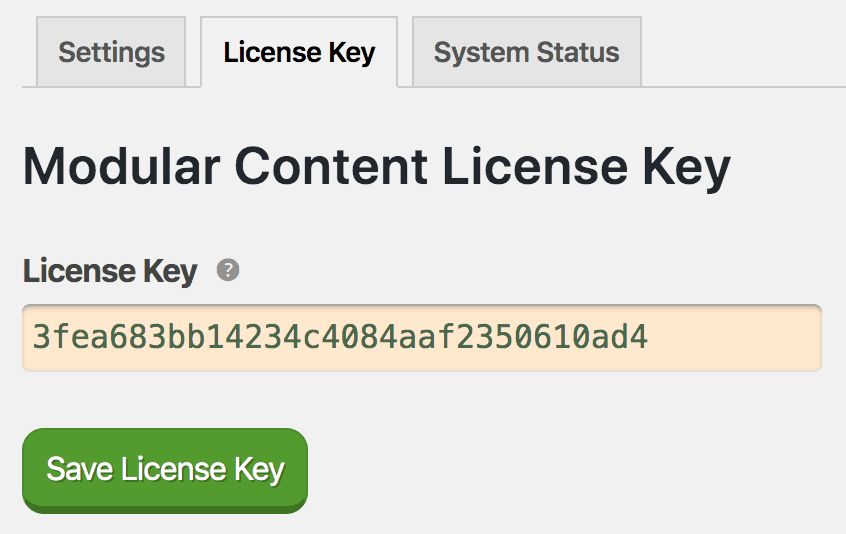
Paste your license key, and then be sure to hit the green save button.
Now you’re ready to create some Modular Content!
Creating Modular Content
To create a new piece of Modular Content, mouse over the flyout menu from step 1 and click on “Add New Modular Content.”
The rest of this process is going to look very familiar, as it’s just like creating a Post or Page in WordPress.
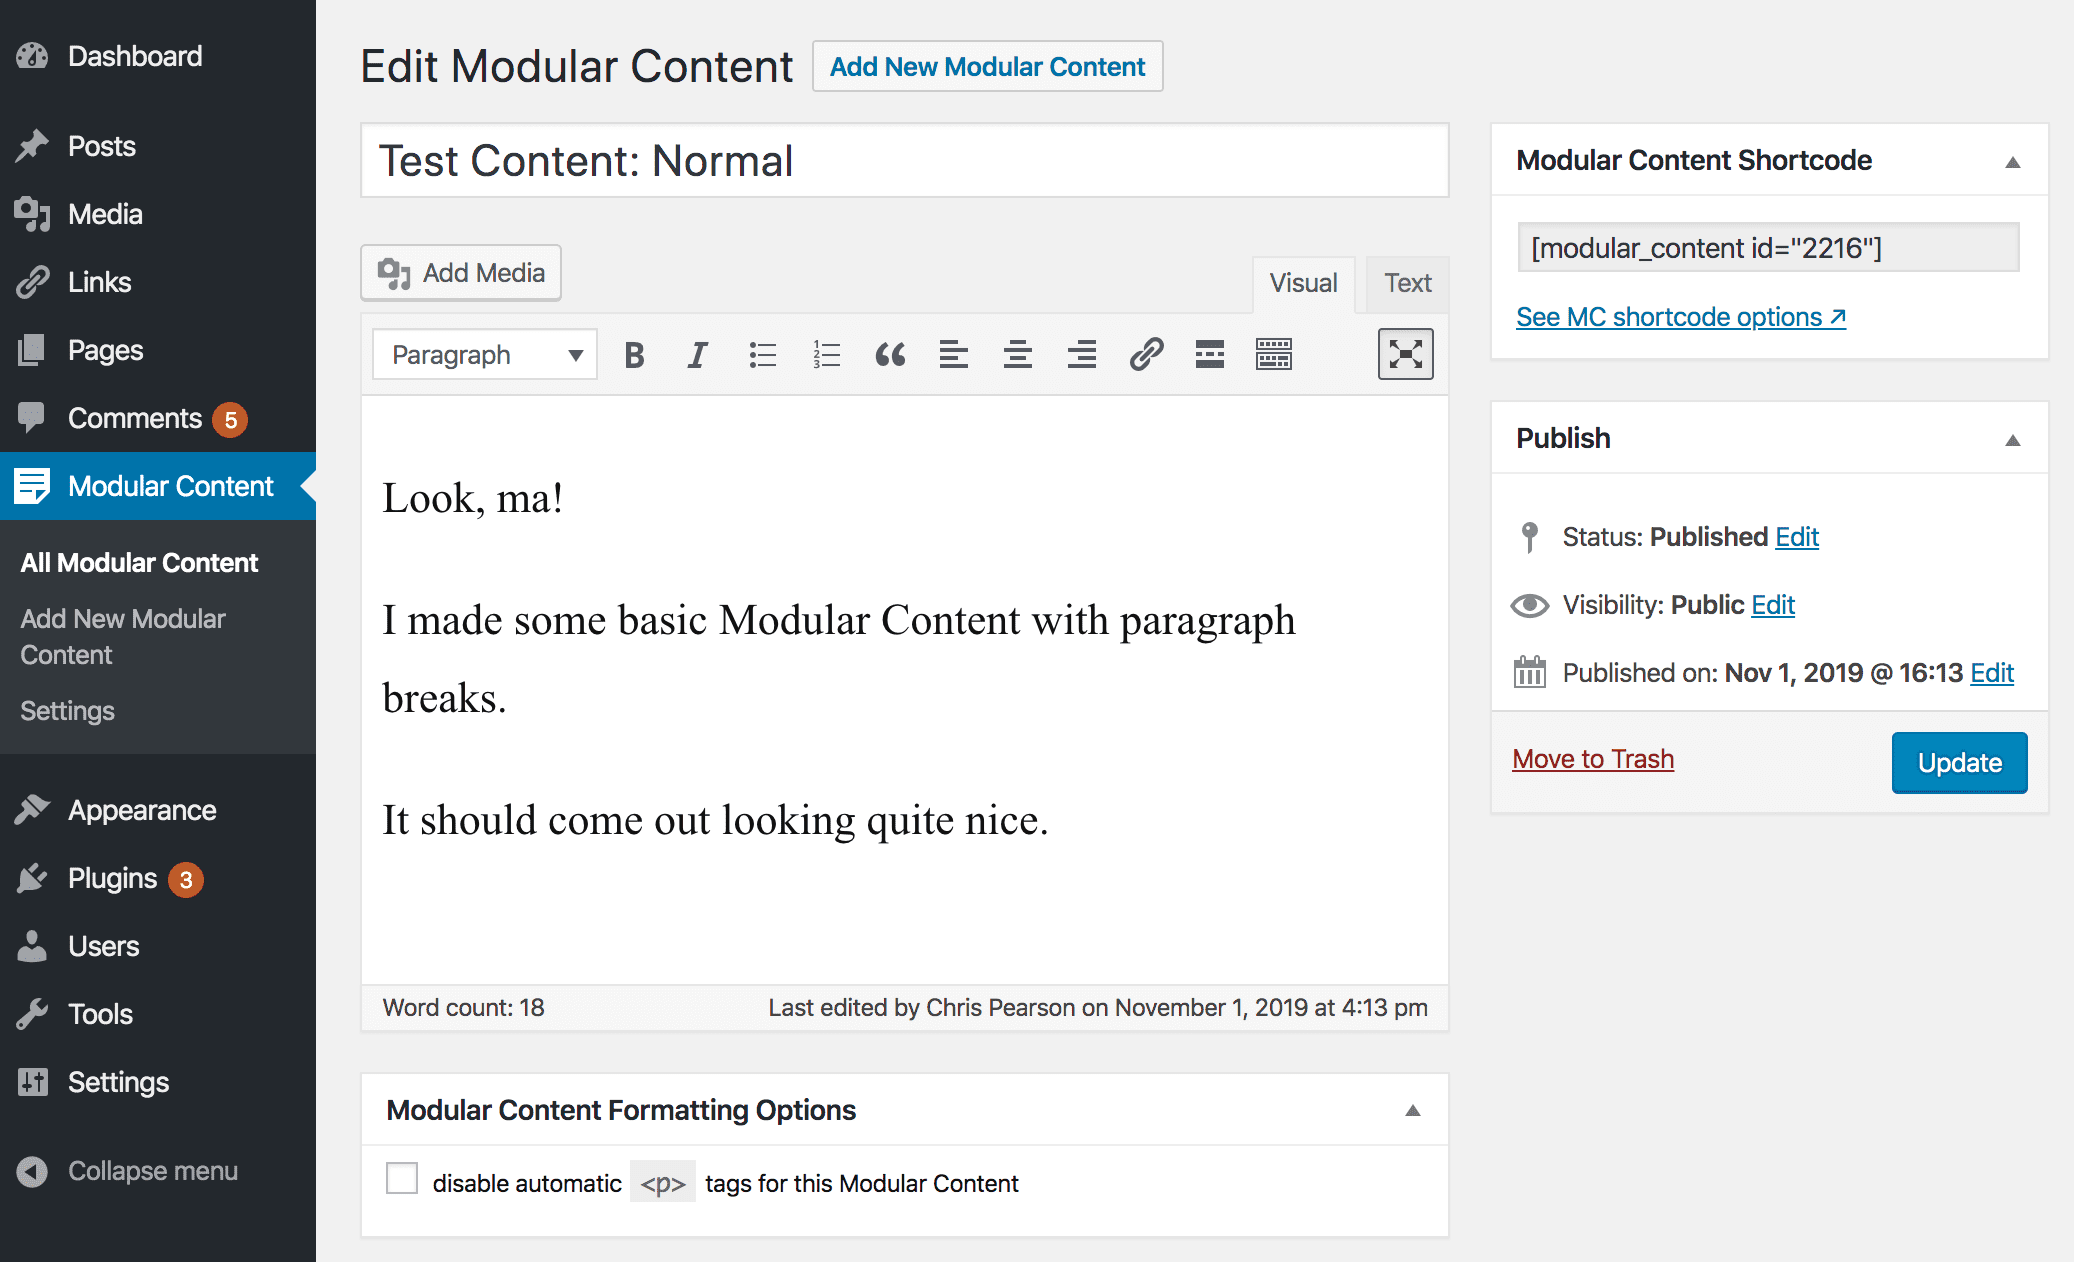
The Modular Content editor is a stripped-down version of the classic Post and Page editor.
In the Modular Content editor, be sure to enter a descriptive Title for easy identification, and then enter your content. You can enter just about anything—including scripts—but PHP code is not allowed.
If you need to insert forms or scripts, you’ll also want to turn off automatic paragraph formatting.
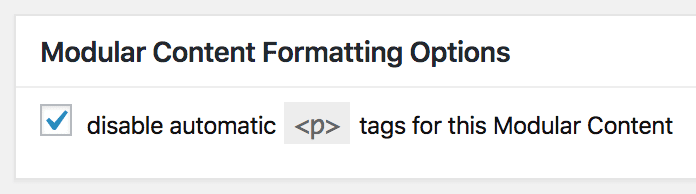
Use the checkbox beneath the Modular Content area to turn off automatic paragraph formatting for an individual piece of Modular Content.
Displaying Modular Content
There are two different ways to display Modular Content:
- fallback placement
- specific placement via shortcodes
Fallbacks enable you to set up automatic Modular Content output on all Posts and Pages. (You can also override this on individual Posts and Pages.)
Shortcodes, on the other hand, enable you to deploy Modular Content on demand in any shortcode-enabled content area. This includes Posts, Pages, custom post types, Widgets, and even editable content areas from various Themes and Plugins.
Setting Up Modular Content Fallbacks
After you’ve created at least one piece of Modular Content, you can visit the Settings page to set up your fallback preferences.
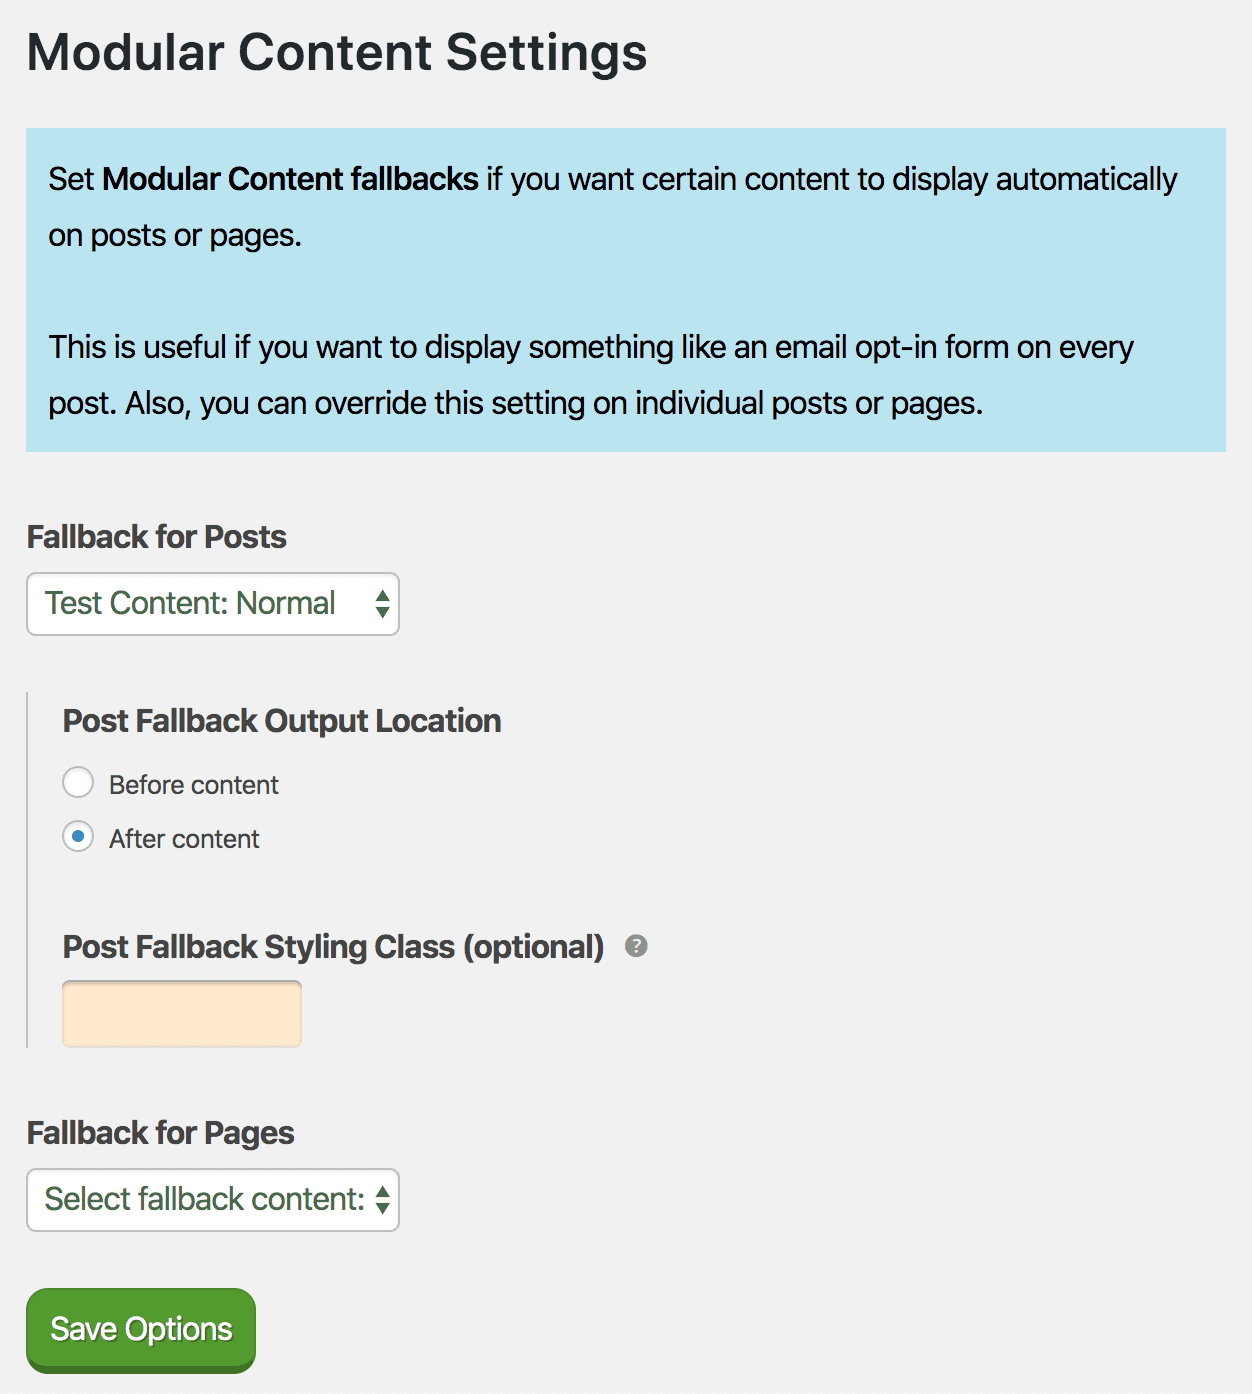
Set up fallbacks to display a selected piece of Modular Content before or after the main content of any Post or Page.
Modular Content fallbacks are a handy way to deliver critical functionality—like an email form or a sales pitch—on every Post and Page of your site.
To deploy a fallback, select a piece of Modular Content for Posts or Pages, and then select the output location (before or after the main content).
For advanced output control, you can also enter an optional Fallback Styling Class which you can then reference in your custom CSS.
Of course, you can also override your Modular Content fallback settings on individual Posts and Pages. Simply use the meta box options that appear beneath the content area in the post editor:
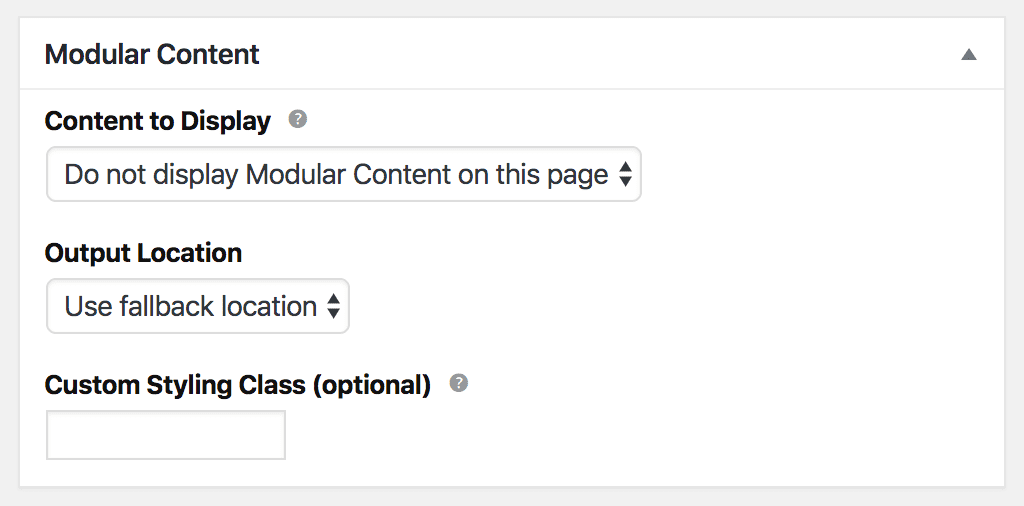
Even if you have fallbacks enabled, you can override them on individual Posts and Pages.
Please note: You are not required to set up Modular Content fallbacks! Even if you don’t use fallbacks, you can still select a piece of content for placement on individual Posts and Pages.
Modular Content Shortcodes
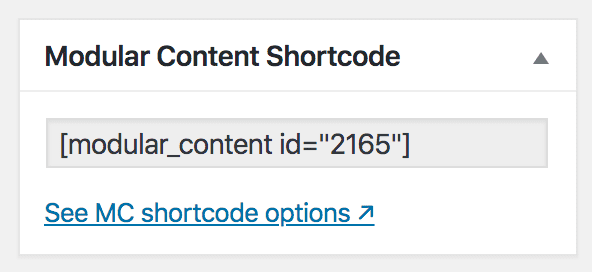
While fallbacks can only output Modular Content before or after Post/Page content, shortcodes give you the ability to output Modular Content wherever you want.
A basic shortcode reference is shown in the image above; you can find the precise shortcode for each piece of Modular Content in the upper right corner of the editor.
To output a specific piece of Modular Content, paste its shortcode into any content area:
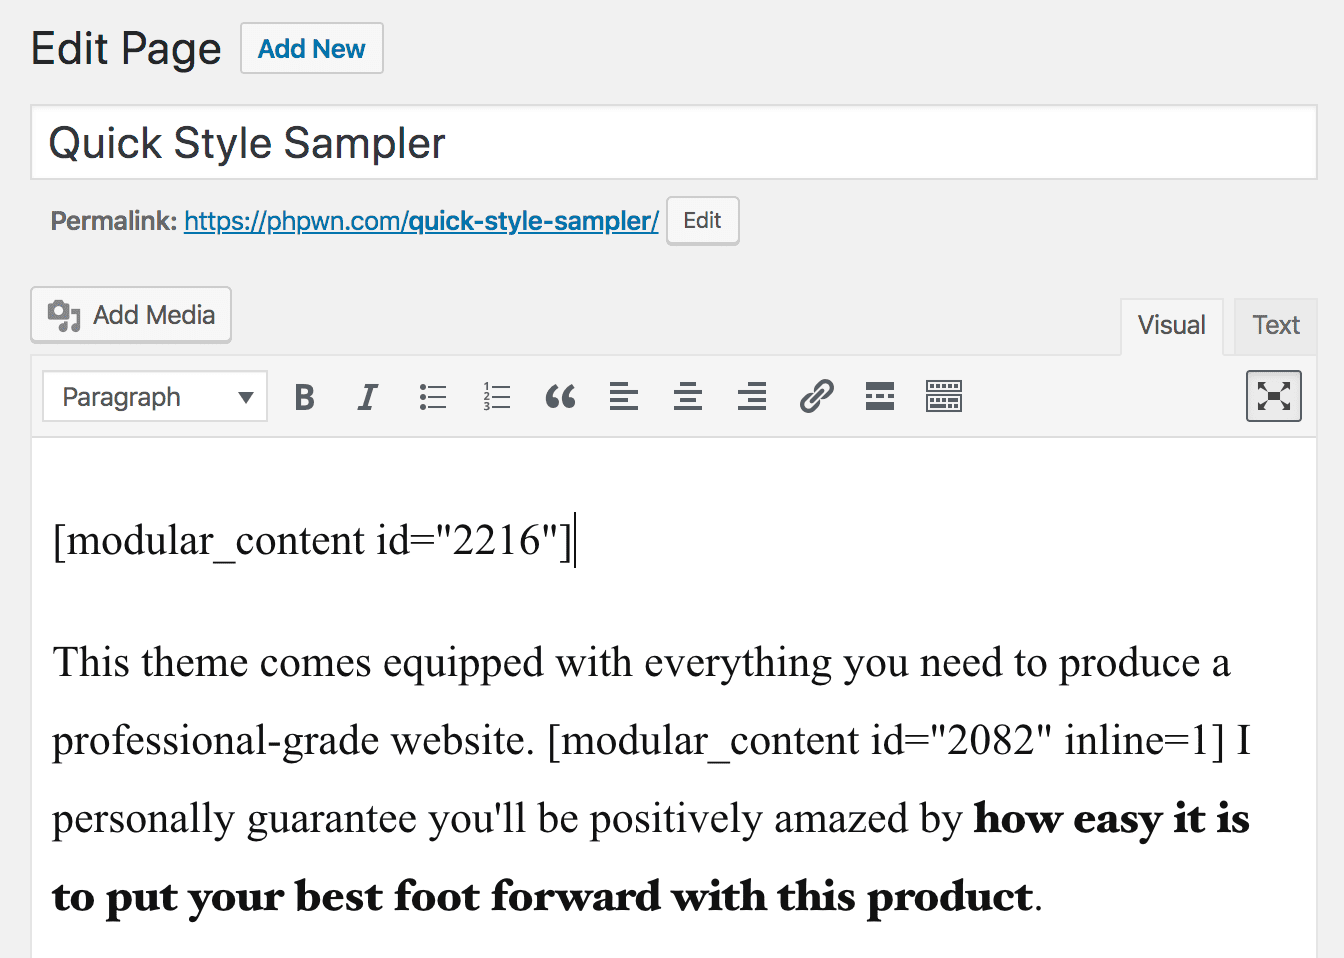
You can place Modular Content shortcodes in any shortcode-enabled WordPress content field.
While the basic shortcode is all you need to output Modular Content, you can also add parameters to enhance and refine the output:
id— (integer, required) ID of the MC you want to displaystyle— (string) add CSS classes to the MC output wrapperinline— (boolean) render content inside inline<span>tags instead of block-level<div>tagsdepth— (integer) specify tab depth for OCD HTML source indentationtrim— (boolean) use this to eliminate unwanted whitespace in the HTML source
Modular Content Shortcode Examples
// Basic MC shortcode [modular_content id="1234"] // Add thenotestyling class [modular_content id="1234" style="note"] // Add thenoteandextendstyling classes [modular_content id="1234" style="note extend"] // Render shortcode as an inline<span>element [modular_content id="1234" inline=1] // Specify a tab depth for OCD HTML source management [modular_content id="1234" depth=5] // Trim output to remove unwanted whitespace in HTML source [modular_content id="1234" trim=1]
Changelog
- 0.6 — August 2, 2022
- Filterable shortcode reference: Default shortcode reference
modular_contentcan be changed via themodular_content-shortcodefilter to avoid potential conflicts
- Filterable shortcode reference: Default shortcode reference
- 0.5 — December 19, 2021
- WordPress versions before 5.5: Restored compatibility for WordPress versions prior to 5.5
- 0.4 — Unknown
- WordPress 5.5: Replaced
wp_make_content_images_responsivefilter withwp_filter_content_tagsif WordPress 5.5+ is detected
- WordPress 5.5: Replaced
- 0.3 — November 17, 2019