The YouTube Performance Plugin is the most optimized way to add YouTube videos to your WordPress website.
It enables flexible video output anywhere you can create content—posts, pages, HTML Widgets, custom archive content, custom post types, you name it!
Installation and Settings
After grabbing the download file from your account, you can install and activate the YouTube Performance Plugin just as you would any other Plugin.
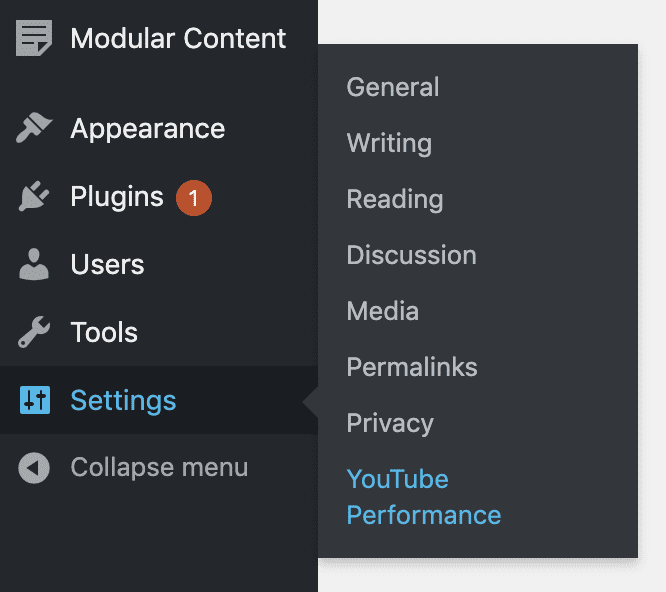
Next, you’ll need to visit the settings page, which you can access from anywhere in the WordPress Admin via the Settings Menu → YouTube Performance link.
Enter Your License Key
If this is your first visit to the YouTube Performance settings page, you’ll need to enter a valid license key to receive automatic Plugin updates.
First, copy the YouTube Performance license key from your account:
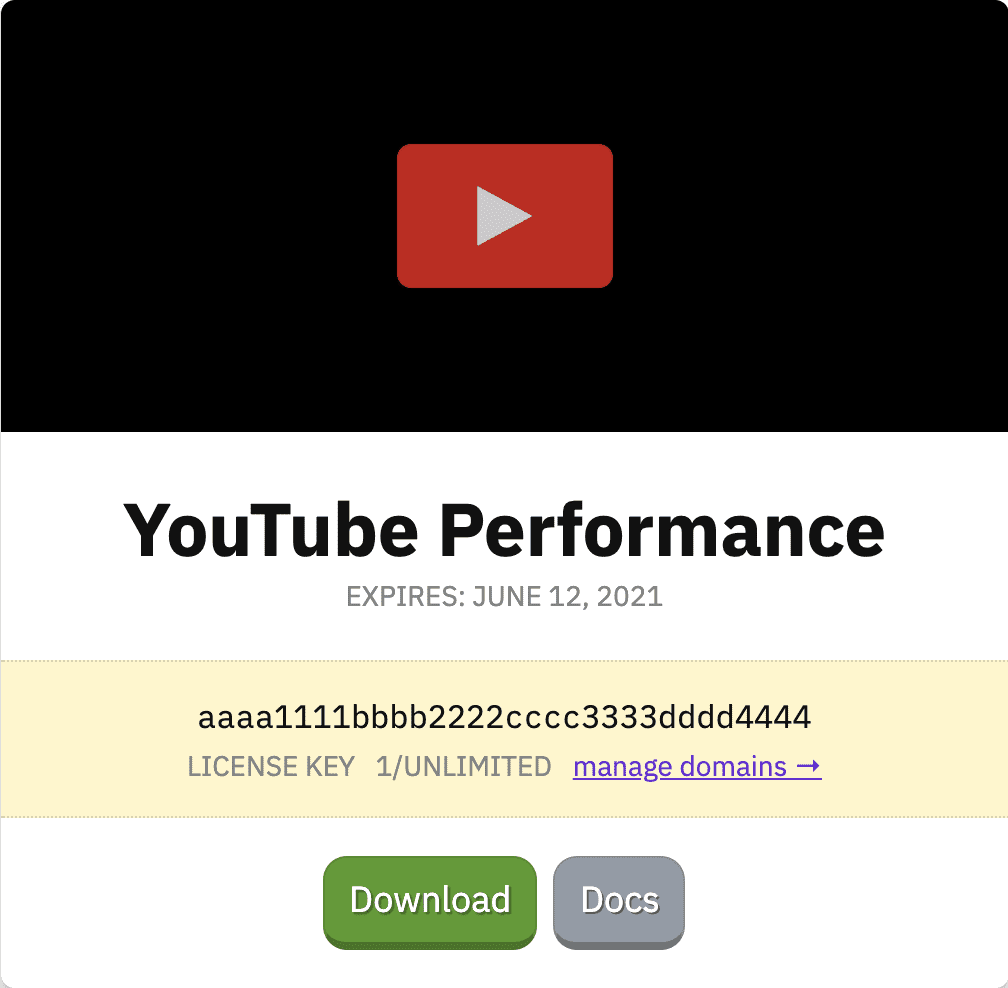
Copy your YouTube Performance license key…
Second, head back over to your site and click the License Key tab at the top of the YouTube Performance settings page. Paste your license key into the available field, and then be sure to hit the green save button.
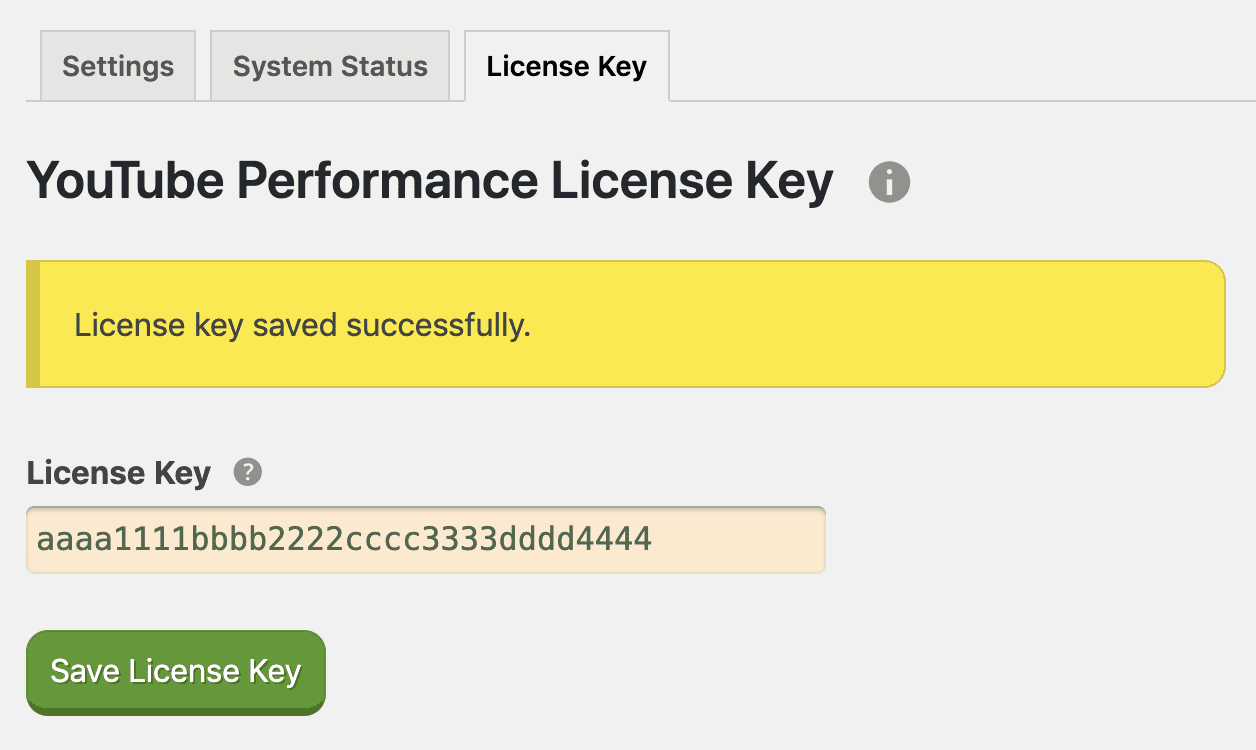
…and then paste it into the license key field.
If you’ve entered a valid license key, you’ll be greeted with an alert message that says, “License key entered successfully.”
With a valid license key in place, you’re ready to head back over to the Settings tab and configure the YouTube Performance Plugin to your precise specifications.
Custom Video Aspect Ratio
Most YouTube videos are presented with a 16:9 aspect ratio, and because of this, you probably won’t need to enter anything in the custom width and height fields on the settings page.
However, if you know your videos have been produced with a different aspect ratio, go ahead and enter the typical width and height dimensions in the available fields.
You oughta know: No matter what custom dimensions you enter, the YouTube Performance Plugin will optimize the output of your videos to fit perfectly within your content.
Select a Thumbnail Resolution
- For better performance, stick with the default thumbnail resolution.
- For greater image clarity, select the maximum thumbnail resolution.
No matter what you select here, you’ll still be able to use the thumb parameter to specify a custom thumbnail image whenever you include a video in your content.
Are you using caching or a CDN on your site?
If so, you’ll need to purge all caches after activating the YouTube Performance Plugin.
This will ensure the CSS and JS necessary to render your videos properly gets added the next time pages are cached.
At this point, you’re finished with the setup and are now ready to include some videos in your content!
How to Add Videos with the YouTube Shortcode
You’re probably accustomed to including the full video URL in your content, like this:
Blah blah blah

https://www.youtube.com/watch?v=L56uBAx9jyU

More blah blah
But that approach results in an iframe that will slow down your page. With the YouTube Performance Plugin, you’ll replace the direct URL reference with a simple shortcode:
[youtube id="L56uBAx9jyU"]
Notice how I’ve simply taken the video ID—highlighted in the full video URL above—and added it to the youtube shortcode with the id parameter.
With this information, the YouTube Performance Plugin will output a video placeholder that expands to fill the width of the container in which it resides. In practical terms, this means your video will be as wide as your content column.
In addition, a thumbnail image will be used to fill the placeholder to mimic the look of a clickable video; here’s an example:
Instead of loading the video directly, the YouTube Performance Plugin loads the video on demand when a visitor clicks anywhere on the placeholder.
This saves resources and enables you to place multiple videos on the same page while having very little impact on performance.
Refining Video Output with Shortcode Parameters
In addition to the required id parameter, the youtube shortcode accepts other parameters for total output flexibility:
id— (string, required) YouTube video IDwrap— (string) space-separated list of CSS classes to apply to the outermost wrapping<div class="youtube-wrap">elementclass— (string) space-separated list of CSS classes to apply to the<div class="youtube">element that encompasses the videothumb— (string) URL of a custom video thumbnail imagealt— (string)alttext for video thumbnail imageparams— (string) additional parameters to control video outputdepth— (numeric) specify a tab depth for OCD HTML source indentation
Let’s take a closer look at the wrap, class, thumb, and params parameters, which are the most useful for getting the precise video output you need.
Parameter: wrap
If you’re using a Theme that includes advanced content presentation classes, the wrap parameter is useful for adding these classes to modify or enhance the way your videos are displayed.
I use this functionality all the time here on DIYplugins, where I want my videos to have a BIG impact on visitors.
For example, I use the Focus WordPress Theme, and to get my videos to display as big as possible, I simply apply the extend class as a wrap for my videos:
[youtube id="R1O3FNIIFxQ" wrap="extend"]
To find out if similar presentational classes are available in your Theme, check out the documentation or contact Theme support for guidance.
Parameter: class
By default, the YouTube Performance Plugin adds some CSS to style your video placeholders, and this CSS is based on the aspect ratio defined in the Plugin settings.
However, if you have certain videos with different aspect ratios, you may want to supply some custom CSS to improve the display of associated placeholders and thumbnails.
I actually do this on my WordPress Theme store, where some videos have a native 1920×1200 resolution—an 8:5 aspect ratio—instead of the 16:9 default.
To accommodate these videos, I’ve added a special class, yt85, to my custom CSS to handle the 8:5 aspect ratio:
.youtube.yt85 {
	padding-top: 62.5%;
}

.youtube.yt85 img {
	top: -10%;
}
And whenever I reference these videos in my content, I simply add the class parameter and include yt85 to apply my custom styles:
[youtube id="8VjTHzTMrHA" class="yt85"]
Got questions about the custom CSS for non-default aspect ratios? Post them in the forums for a quick response.
Parameter: thumb
YouTube lets you choose the thumbnail image associated with each video, but this functionality comes with two significant limitations:
- If you select any image other than the default YouTube suggests, the image will not display properly wherever you use the YouTube Performance shortcode.
- The default thumbnail resolution is quite poor, which makes detailed images look blurry.
In cases where you’d like to use a thumbnail image besides the default or where you are unhappy with the resolution of the default thumbnail, you can use the thumb parameter to specify your own thumbnail image:
[youtube id="8VjTHzTMrHA" thumb="https://yoursite.com/images/my-thumbnail.jpg"]
Simply upload your thumbnail image to the WordPress Media Gallery, and then copy the resulting URL so you can paste it between the double prime marks delineating the thumb parameter.
Pro tips for thumbnail optimization:
- Crop your thumbnails to the same aspect ratio as your videos (we recommend a minimum width of 1200px for clarity)
- Compress your images before uploading them to your website
Parameter: alt
A properly-formed <img> tag should always include some alt text to describe the image.
The YouTube Performance Plugin supplies generic alt text on video thumbnail images by default, but you can include your own text simply by adding the alt parameter to your shortcode:
[youtube id="8VjTHzTMrHA" alt="dramatic fireworks display"]
Parameter: params
By default, the YouTube Box adds the autoplay and rel parameters to your videos1, but you can add other parameters to modify the behavior of the player.
To add your own parameters, simply add a params element to your shortcode:
[youtube id="8VjTHzTMrHA" params="fs=0"]
To include multiple parameters, combine each parameter into a single string with the & character:
[youtube id="8VjTHzTMrHA" params="fs=0&loop=1&modestbranding=1"]
Changelog
- 1.1 — December 7, 2021
- Added optional alt tag functionality to thumbnail images
- 1.0 — June 17, 2020